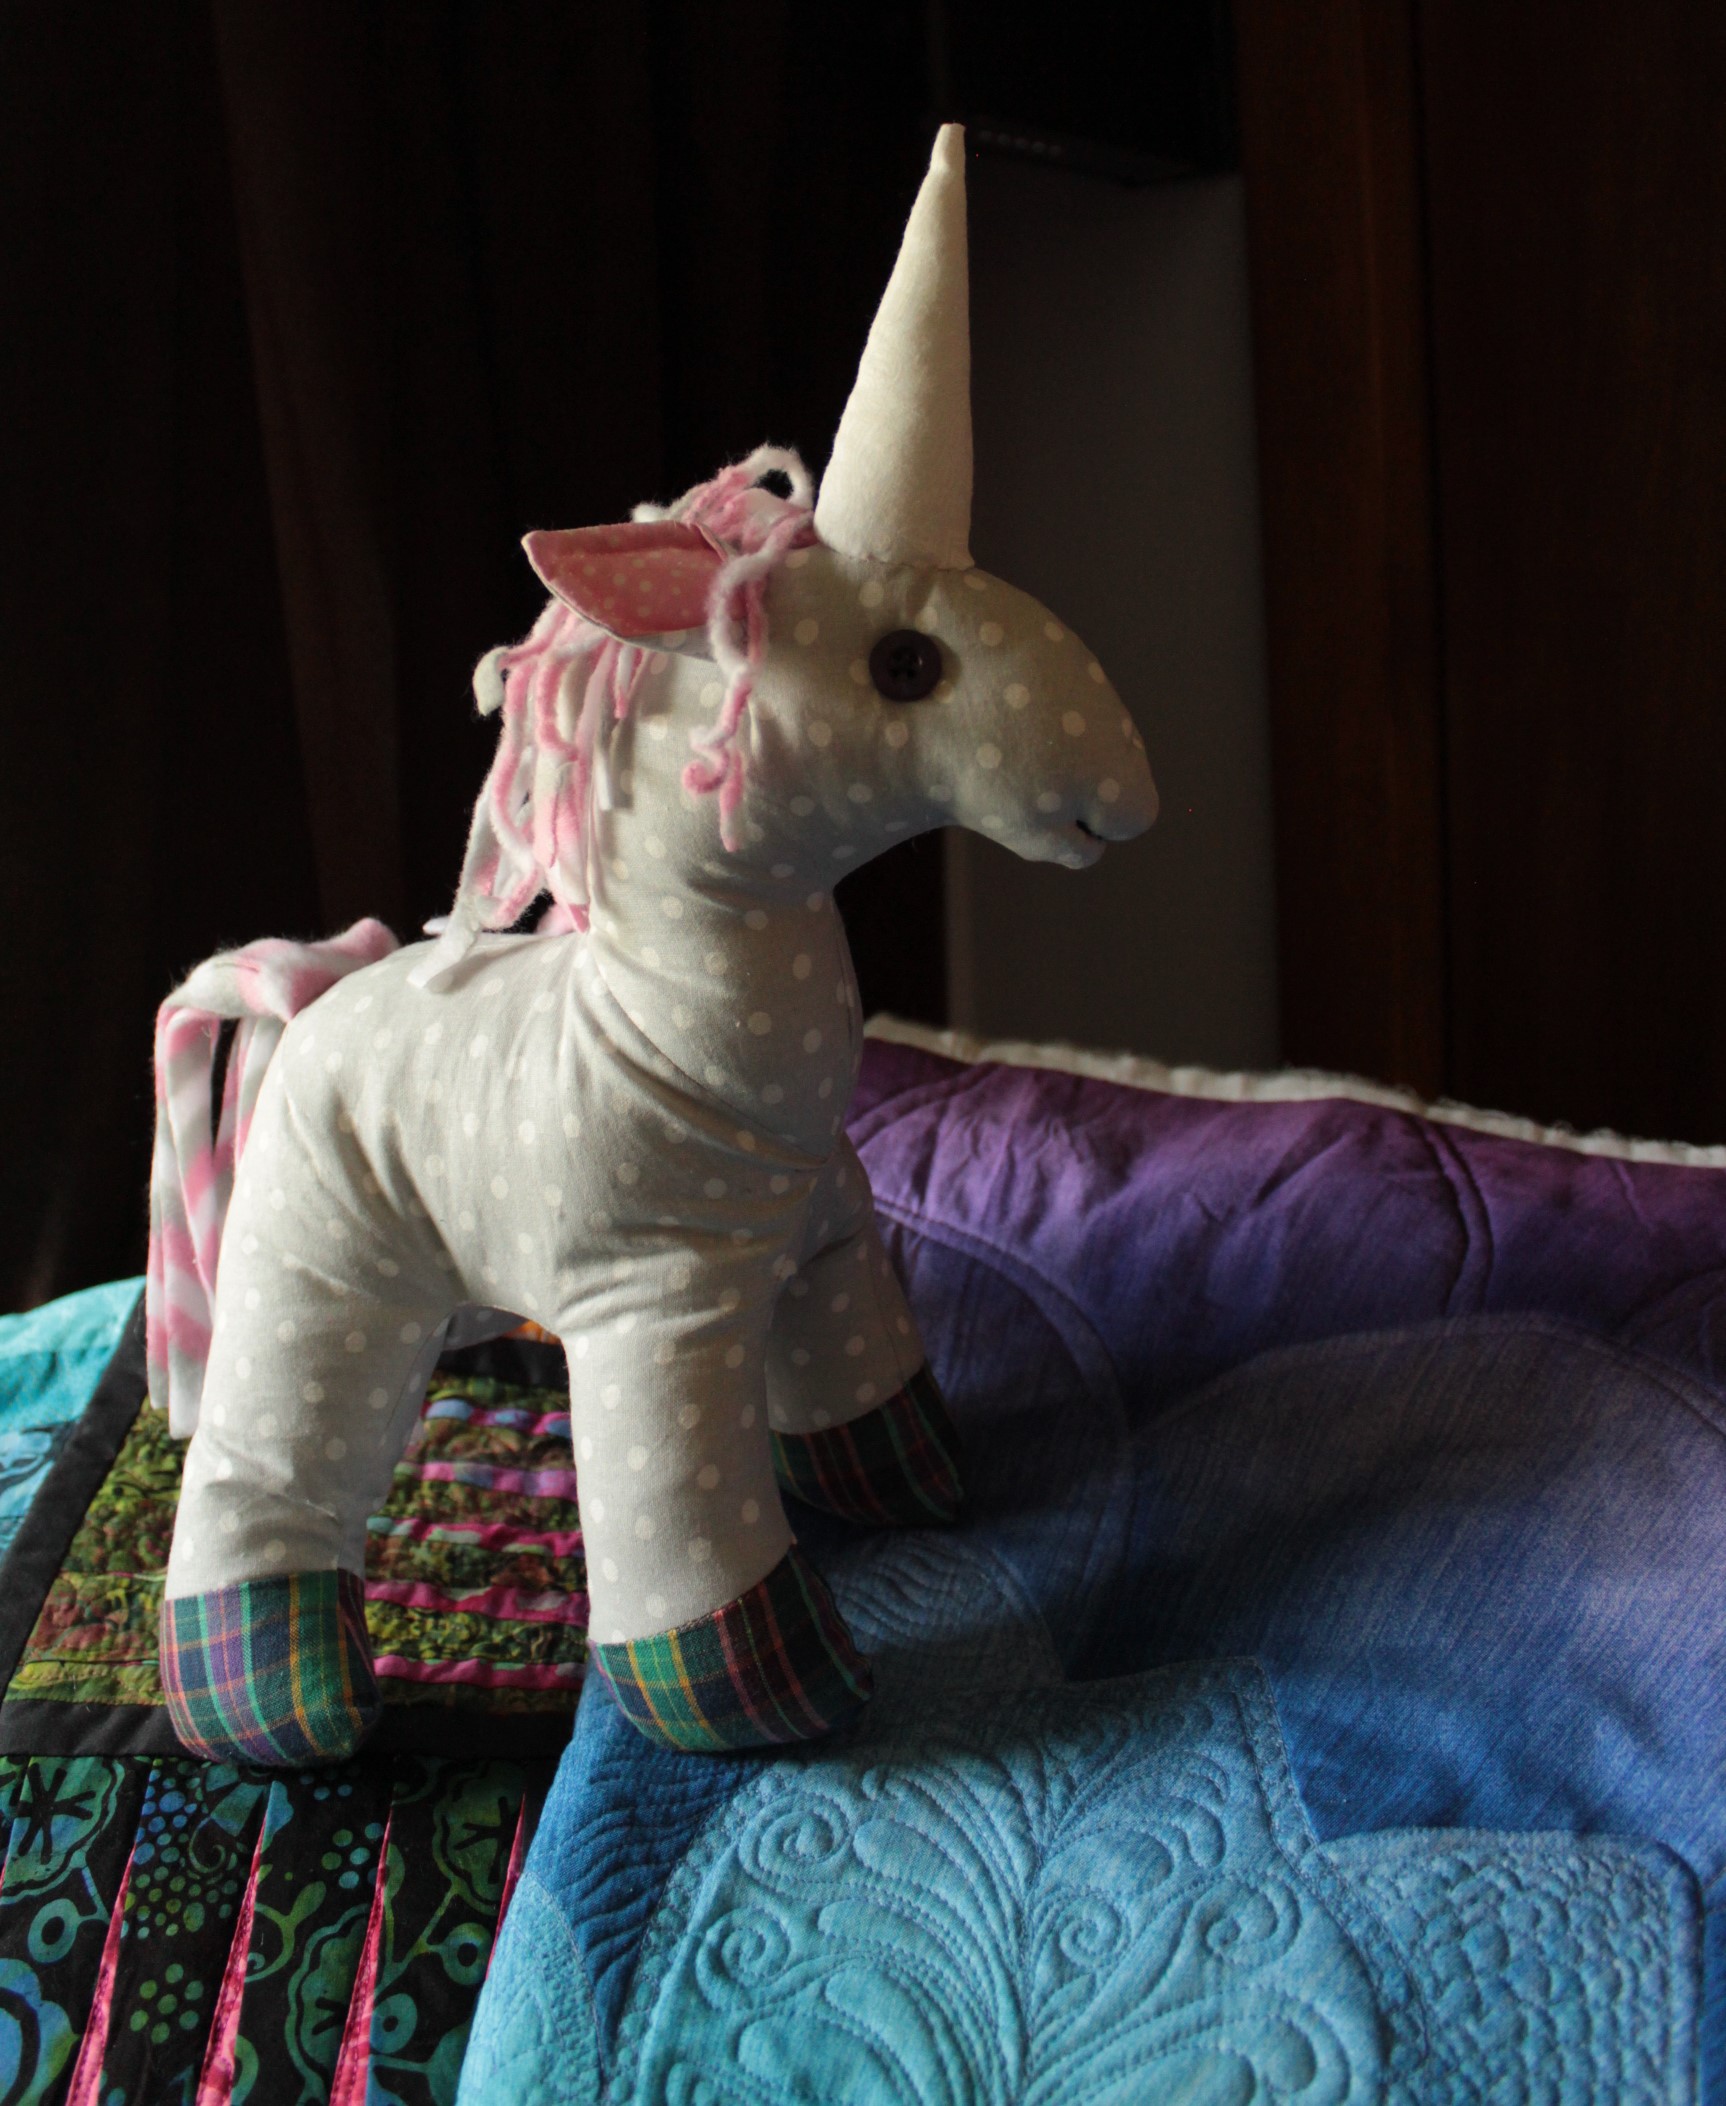
It’s all the craze! It seems like every young girl is into Unicorns lately; so I took it upon myself to create a pattern I could print out on letter paper and make available for all of you to download for free!
The pattern is easy enough that a 7 year old was able to make one – with a little help from an adult. So here it is – my “Magical Unicorn” fun project #23 for you to download for FREE! 🙂
Where did 2017 go?! Wow – time really does fly when you are having fun – or just plain old. LOL
So here we are at the end of an old year and the beginning of a new one. Many of us celebrate Christmas – and with that comes a Christmas tree and all the ornaments we put on it. Some people like just some lights and fabric bows – others collect ornaments from past years – or ones their children made for them. Sometimes it’s a real trip down memory lane! I used to have a box full of memories – many of them breakable – that found a spot on my tree. Hubby and I also used to insist on a “real” tree each year when the kids were small. Along with the real tree came a real mess – and the need to dispose of the tree after Christmas was over. We used to take off all the lights and ornaments, put them in a box and store them away – then cut up the very dry and hazardous tree and burn it in our fireplace on New Year’s Eve. A “Yule Log” that would bring us good luck in the coming year.
Then one year after I packed all our breakable memories in a box and placed the box by the top of the cellar stairs (to bring down to storage later when I finished taking down more decorations), I went back to the living room to vacuum and tidy up. Hubby’s brother was visiting and they were both well into celebrating New Year’s Eve. As I was running the vacuum, the men decided to go out to the shed to get the saw to cut up the Christmas tree. Hubby decided to use the back door to do this – which happens to be the door by the top of the cellar stairs. He saw the “ornament” box – red & green Rubbermaid – and thought it strange that I didn’t bring it down the stairs. He decided to help it on it’s way by nudging it with his boot till it toppled over the edge and rolled, bounced, twisted and opened all they way down the stairs. I could hear it happening – even over the dun of the vacuum – and alas, knew I was too late to save the day. All of our memories were broken into tiny little pieces all over the stairs. When I got to the scene of the crime, Hubby was standing there with his jaw hanging wide and the guilty look a child gets when he’s caught with his hand in the cookie jar. Well, nothing could be done to reverse the moment – so he continued out the door with apologies – to go get the saw; and I started vacuuming up all the pieces of the last 20 years from the cellar stairs.
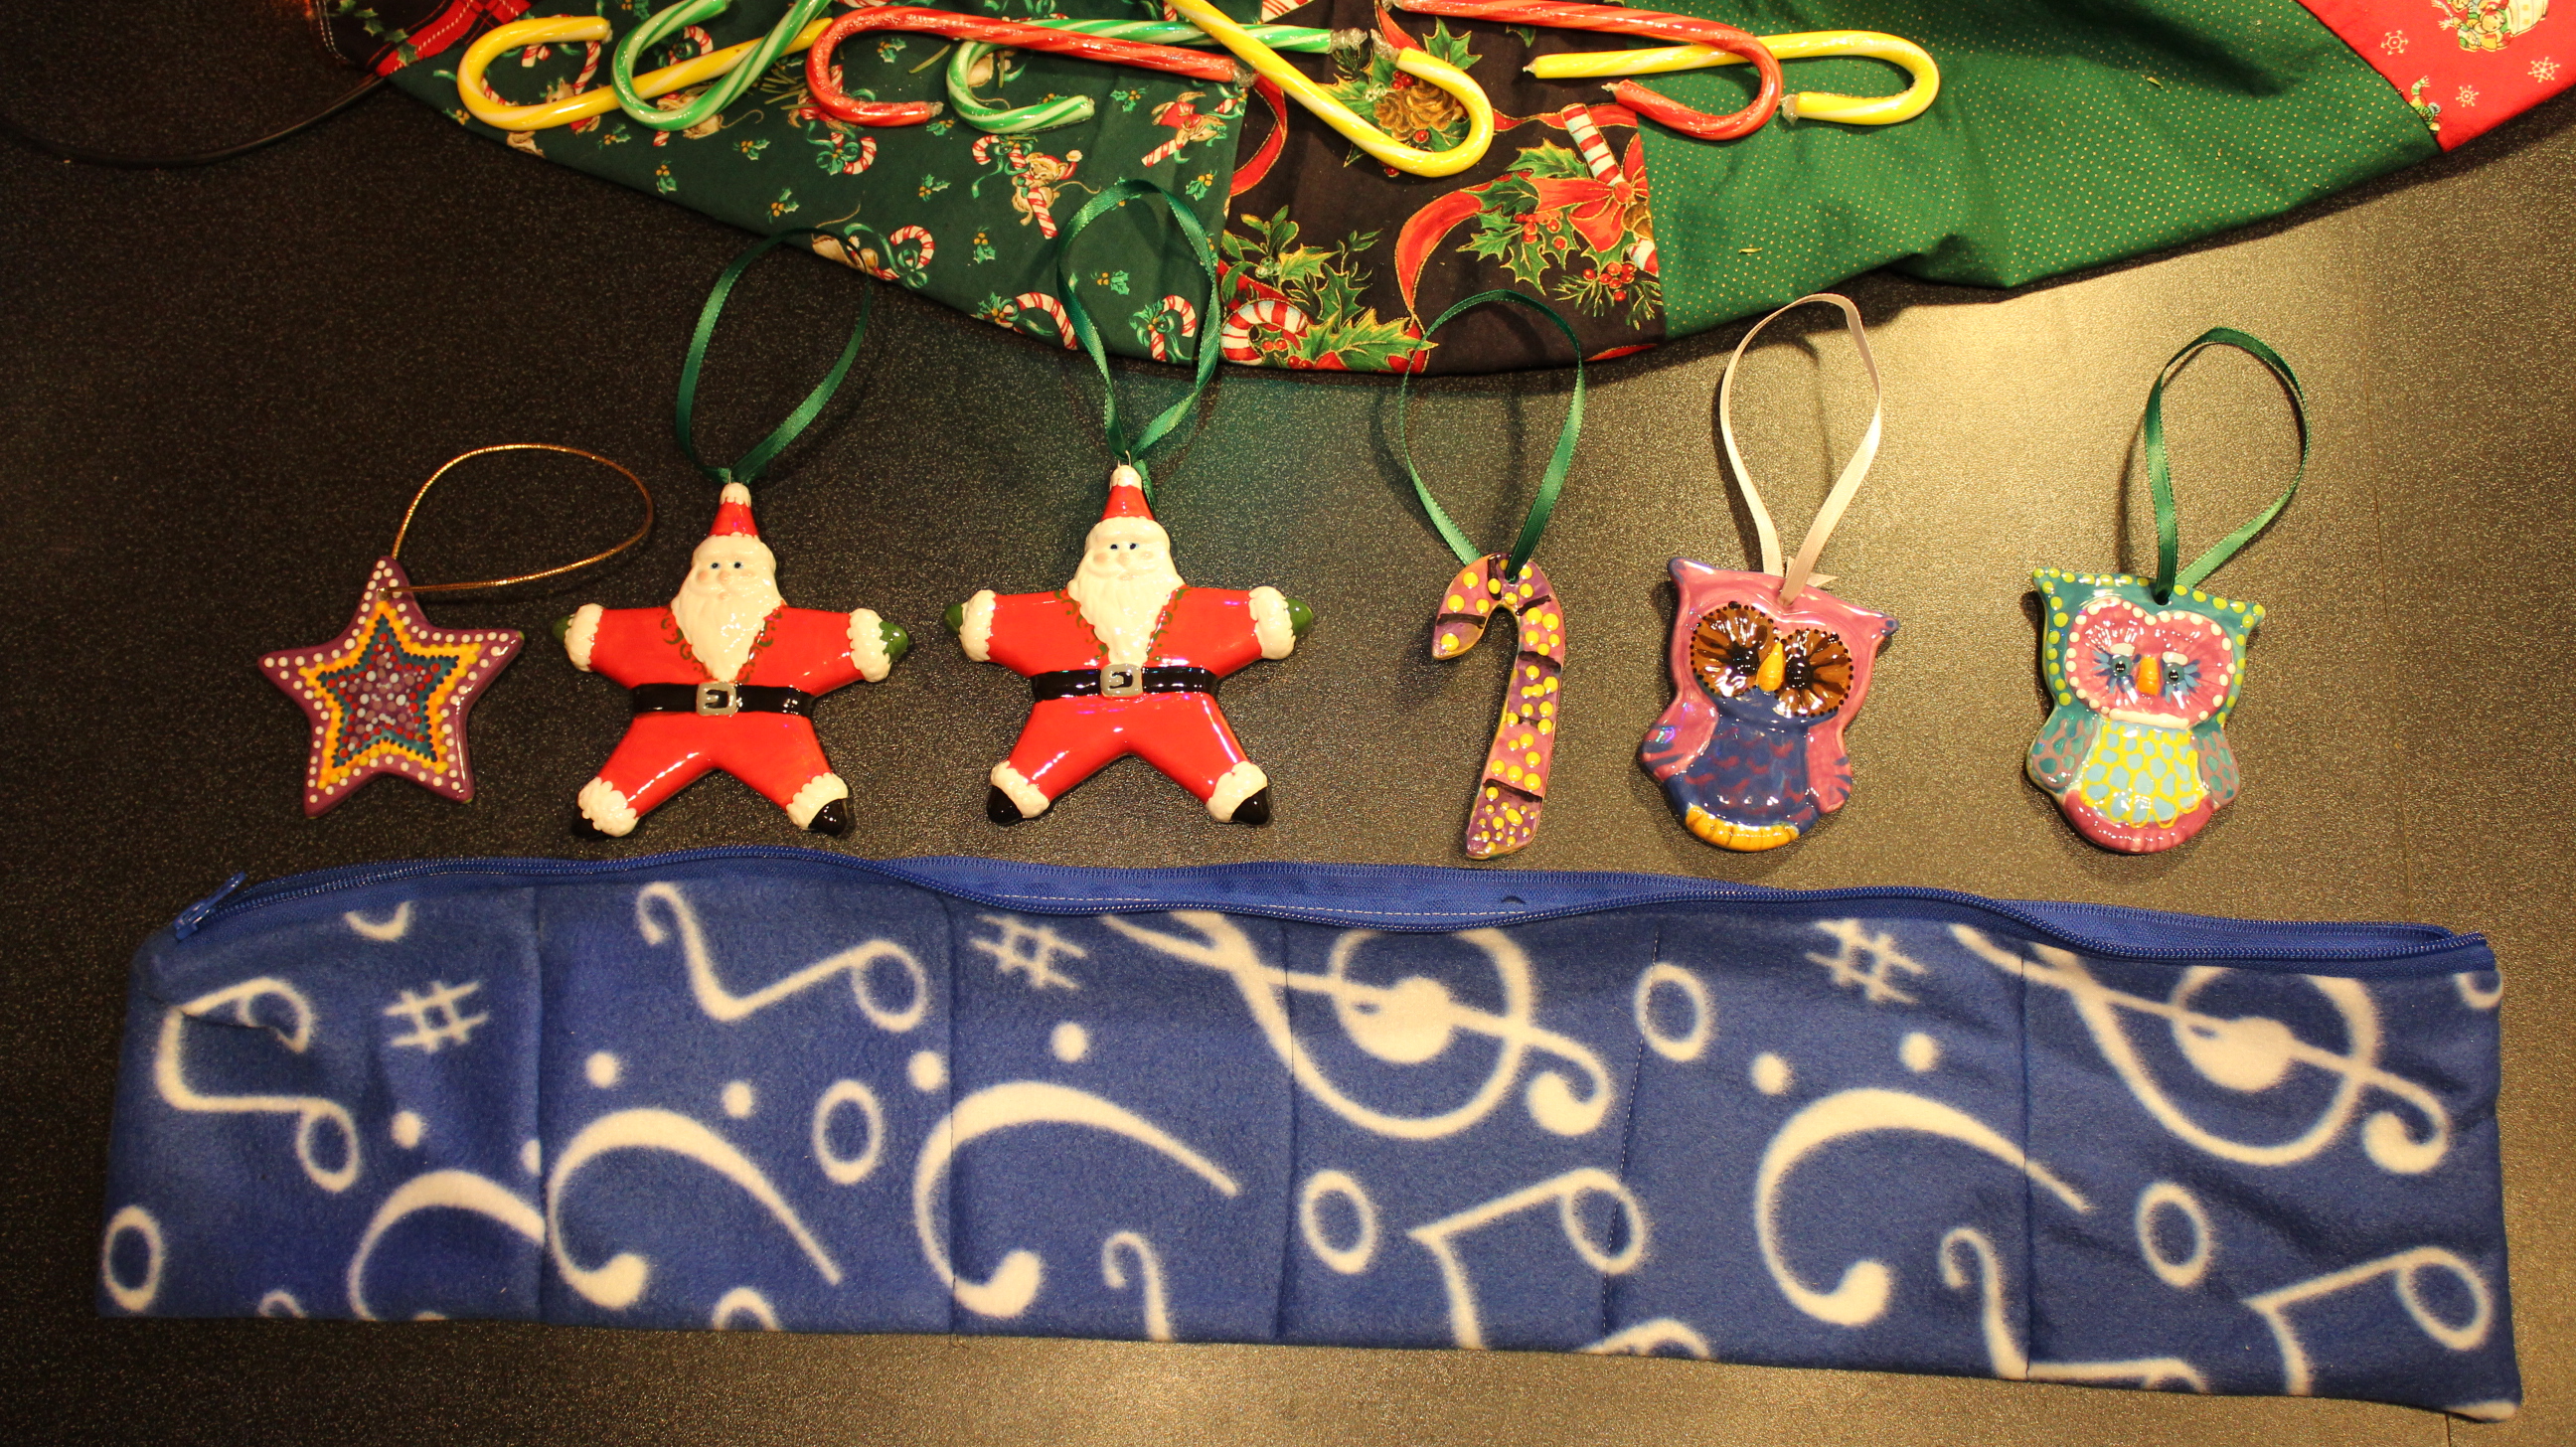
For many years after that, we put up an artificial tree with nothing more than lights and some plaid fabric bows – with an occasional felt ornament here and there. Then along came the grand children and some more lovely ornaments that were gifted to us from various people. Then after many years of “fake” trees, we decided to go “real” again – and take the grandchildren “Christmas Tree Hunting” as a fun activity on a sleepover night. I also chose this year to start a new tradition that I’d like to call a “Making Ornaments with your Grammy Party”. We took a trip to the local pottery painting spot just a mile from my house – and painted our own ceramic very special ornaments. Treasures I hope the children will keep and remember me by someday when they have their own homes and are decorating their own trees. So, I thought – how can I make this a possibility – how can I keep these treasures safe – how can I teach the children to preserve and protect what we spent so much time painting and having fun making? That’s when this quick idea came to me. “Safe Pockets” – zip them up in a comfy soft bag of fleece and store them in a special box. I went right out and bought decorative boxes for the children and then made a bunch of safe pocket sleeves. My ornaments fill my sleeves and my box, but the children have big almost empty boxes with one sleeve that holds 6 ornaments. This is so that they have something to look forward to in years to come.
Enjoy this quick tutorial “Safe Pockets – Fun Project #20” video. Maybe you can use this method to preserve and protect your own breakable memories. 😉
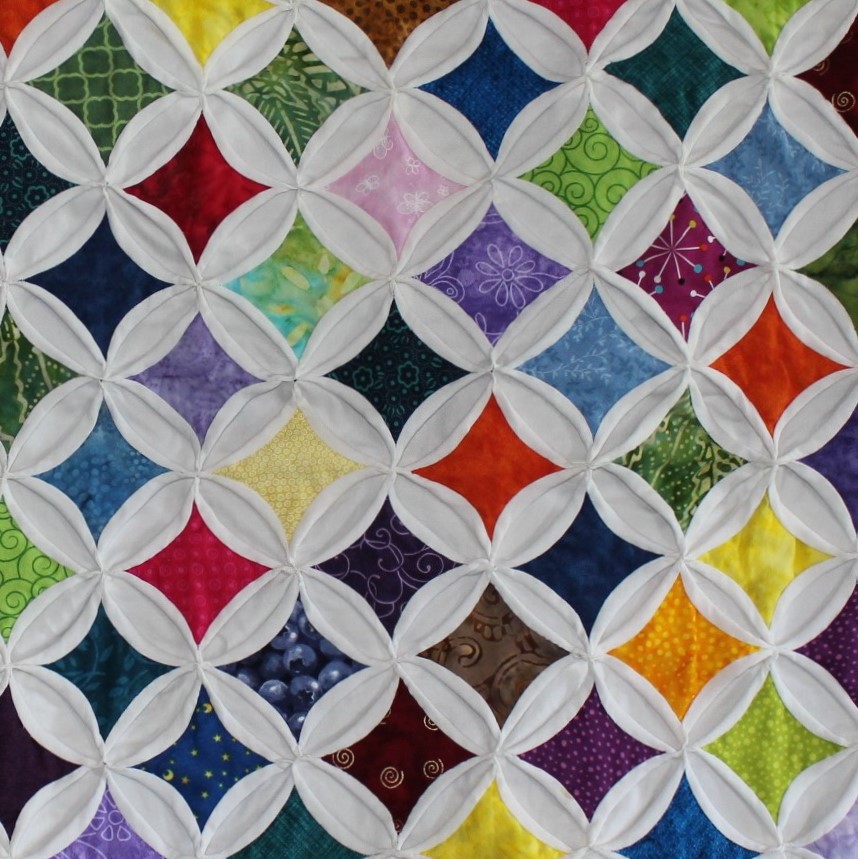
I’m a little late posting this one, because it’s still a project in the making! I’ve been interested in the Cathedral Window pattern for a very long time. One of my best friends since 1st grade had one of these quilts hanging in her living room. Her mom made it by hand and was taught by her great aunt – or something like that. It’s kind of hard to remember – that was 50 years ago!
I stopped in for a visit in my old neighborhood recently, to have a cup of tea and visit with “Noni McRae” – this little old Italian lady who I have always adored. I asked her if she could show me how to make a Cathedral Window Quilt block. Her memory is not so great anymore – but she tried her best; folding and unfolding, cutting and snipping and folding some more – till I sort of understood where she was going with this. We had a lovely visit and I thanked her graciously for showing me the block, and I went on my merry way – with a brand new interest in learning how to make a Cathedral Window quilt!!
I must say, that the instructions I received were not complete – so I went on to research the technique and found that there were not a lot of people out there doing this by hand anymore. I understand we live in an “instant” society – but I didn’t want this age old pattern to die, so I took it upon myself to make a video to teach anyone who loves to hand sew – how to go about making one of these quilts.
Well, to make the video – I needed to make the quilt; and I have to say that I have very limited time to sit and hand stitch an entire quilt. So I decided to start it in January when I flew to Florida for a family vacation and then I took it with me again in March when I moved my sister from Miami to Boston during a 5 day road trip. Maybe you’ll see your town in the video!
So I applaud you Noni!! Thank you so much for all your effort – this one’s for you!
What?! More like “save our fingers” when shucking that yummy lobster! This is a very useful “fun project” if you like eating boiled or steamed lobster. So quick to make – you can make a couple sets in just an hour! Makes a great gift paired with some lobster eating tools and a fresh live lobster! Click on this link: Lobster Fingers for a FREE PATTERN to make a few sets for your next lobster bake.
Old towels are a fact of life – we all find them in our laundry eventually. I’ve decided never to throw them out – but reuse them instead. Sure, you can cut them into squares and use them as rags; but why not make something useful AND cute out of them? Here are 3 ways to make a bib – but once you get started, I’m sure you’ll think of many more styles and uses for “the bib”! If you are not sure of size – then make sure you click on the link below for a FREE pdf pattern to get yourself started!
I’ve had some requests lately from sewers wanting to know how to make quilt blocks. Here is a good ole’ traditional block called the “Maple Leaf”. Living in New England we see a lot of these leaves! They don’t have to be just green – you can make them almost any color! In this video you’ll also learn how to “chain piece” and make “half square triangles” (aka HST’s). You’ll also learn an easy way to “reverse applique” the stem block.
So far, the only other tutorial I’ve done on a quilt block is the Angel Jewels block in my Quilt As You Go tutorial. If you have a special block you want to learn how to make, let me know! I’ll be glad to make a video with all your options! Currently I’m working on samples to show you how to make a “Cathedral Window” quilt – the traditional way – and also a much quicker version – “kind of a cheat” way. 😉 It’s not ready for posting yet, but I’m hoping to have it ready soon. So for now, enjoy making these maple leaves!
If that wasn’t fun enough – try this SUPER QUICK and SIMPLE method!!
Using 5 1/2″ squares will help you create all the 3 1/2″ HST’s you’ll need to make the Maple Leaf Block described above 🙂
I’ve had the pleasure of making satin and silk flowers to dress up ball gowns and to create wedding veils. It’s really not all that difficult. You just need some scraps of beautiful fabric and a needle and thread! Thought I’d share the process with all of you who follow The Masquerade’s “Fun Project Series”. Here is #12 – How to make Satin Flowers! Click on the link below the video for a FREE pdf pattern of the flower pieces.
Here’s a cute and cuddly fun little bunny to make! I found the panel of fabric in my mother-in-laws very old stash. I’m guessing it’s probably 30+ years old. LOL So I decided to make it on a really old sewing machine! I bought myself a little Willcox & Gibbs hand crank chain stitch machine to celebrate a great year – and thought this would be the perfect “first project” to test it out. What a great success! The machine worked fantastic and the bunny is adorable (as I guessed it would be before I cut it out) – so I scanned in the pieces and made a PDF pattern to share. So Merry Christmas and Happy Holidays to you! Here is the tutorial and the free PDF pattern – just click on the links and HAVE FUN WITH THIS! I can see it made from plaid flannel or printed fleece or what about minky?! There’s no end to how cute and cuddly this bunny can be. 😉
This is a super easy way to use up your scraps and end up with a reversible already quilted project when you are done! Learn how to “Quilt As You Go!” Keep bags of pre-cut scraps handy for when you want to spend 5 minutes putting together a block. You will need some 3 1/2″ squares in pairs, some single 5″ squares, some 1 3/4″ strips (at least 4″ long) and sashing strips cut at 1 3/4″ and also at 1 1/8″ in the color of your choice. Most people go with black or white because if you run out before you are done, it’s easy to match when purchasing more. Have fun!
No need for a long arm machine if you quilt your project in sections! This is a sports quilt made from team jerseys, and it’s being put together in rows – so each row can be quilted before finally being pieced together. The trick is to pick a steady tempo and do a little portion at a time. Don’t rush – and practice first!!